Send an email on a state change
Step 1: Set up Zapier Hook
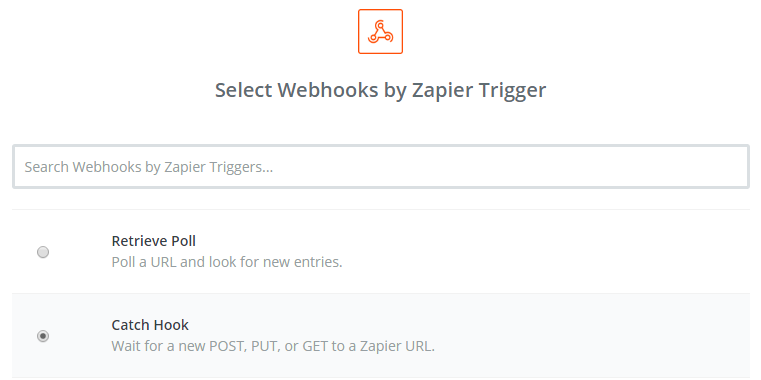
Create a new Zap. Choose a Trigger App: Webhooks

Webhooks Type: Catch Hook
Get a generated Webhook link at 'Test this step':
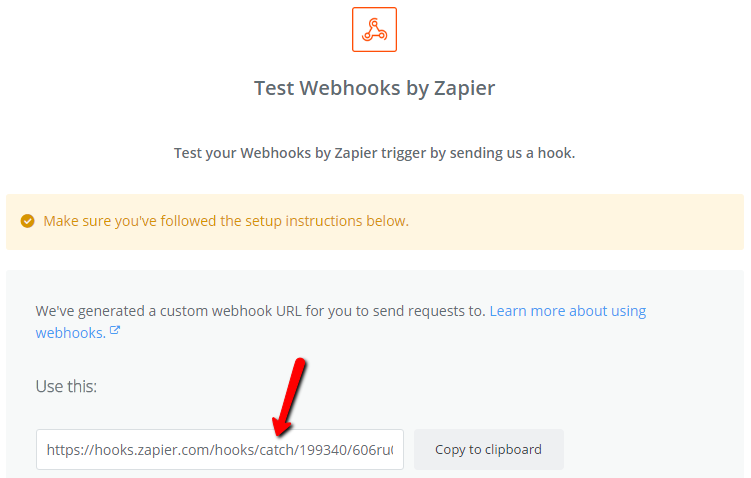
When you have it copied to your clipboard, please switch to Targetprocess but keep the browser tab with this Zapier setup open.
Step 2: Set up Webhook profile in Targetprocess
Go to Settings → Plugins → Webhooks → Add profile, and put there your Zapier Webhook link generated at the previous step. Set up a Trigger and Filter according to your needs.
In our case we'd like to listen for State change events for Epics, Features, User Stories and Bugs.
Add all the fields you're interested in to template (don't forget to put quotes around them):
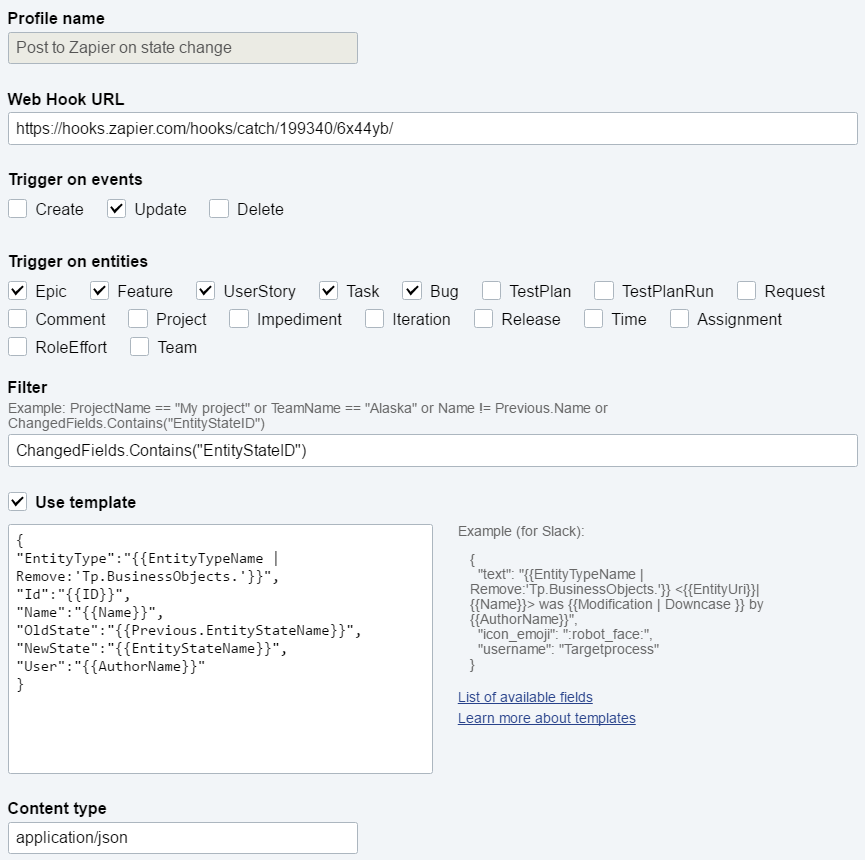
Here we're using the following template:
{
"EntityType":"{{EntityTypeName | Remove:'Tp.BusinessObjects.'}}",
"Id":"{{ID}}",
"Name":"{{Name}}",
"OldState":"{{Previous.EntityStateName}}",
"NewState":"{{EntityStateName}}",
"User":"{{AuthorName}}"
}
Step 3: Perform an action in Targetprocess to trigger Webhook
In order to test your Webhook-Zap you need to perform an action in Targetprocess which is set to trigger Webhook. In the example above the corresponding action is to change a state of any Epic, Feature, User Story or Bugs.
Now it's time to switch back to Zapier setup!
Step 4: Test Zapier Hook
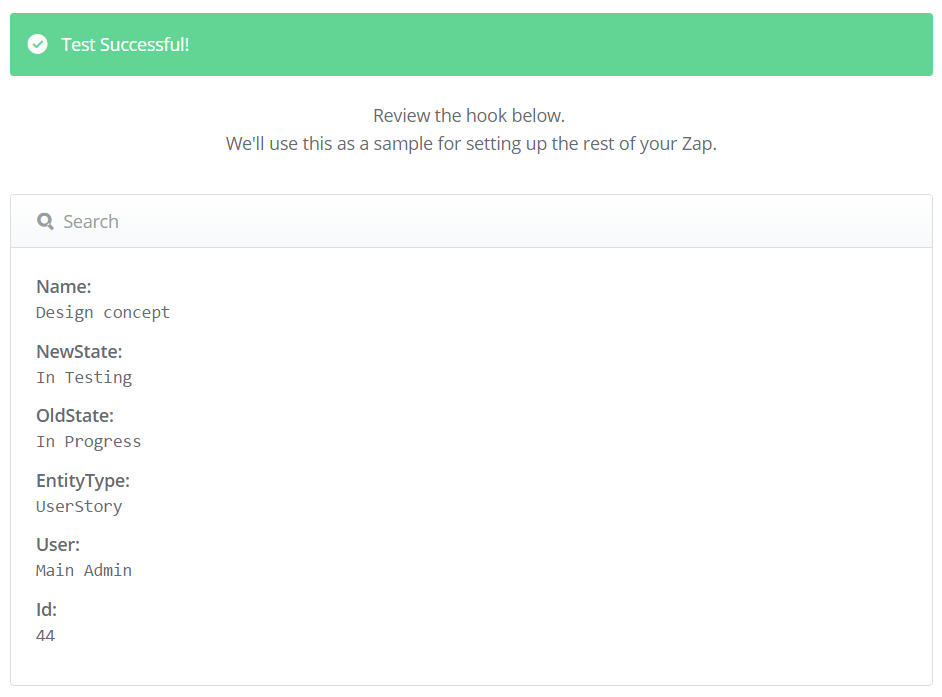
If a test is successful, you'll see all the fields which came from Targetprocess:
Step 5: Set up Zapier Action
Since we want a new email to be sent, we'll choose Gmail as Action app.
In the body (or any other field of the template) you can insert all the fields which came from Targetprocess:
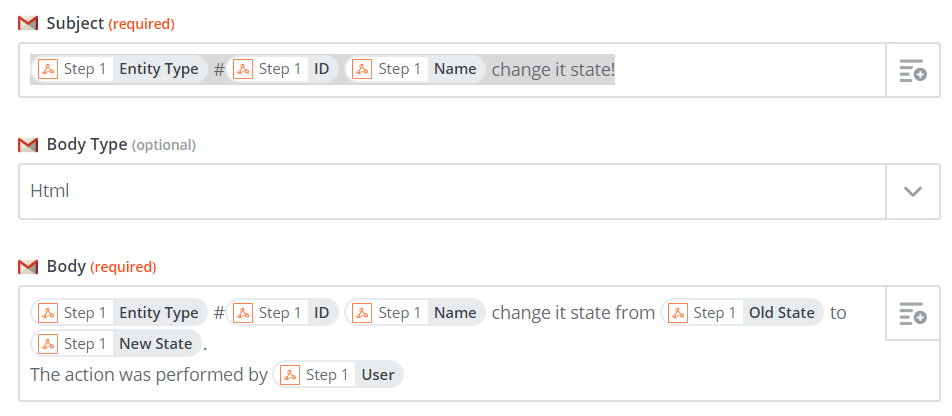
Save the template and turn on your Zap. Your integration is ready!
Updated 4 months ago
